How To Get NBI Clearance Online: What You Need To Do
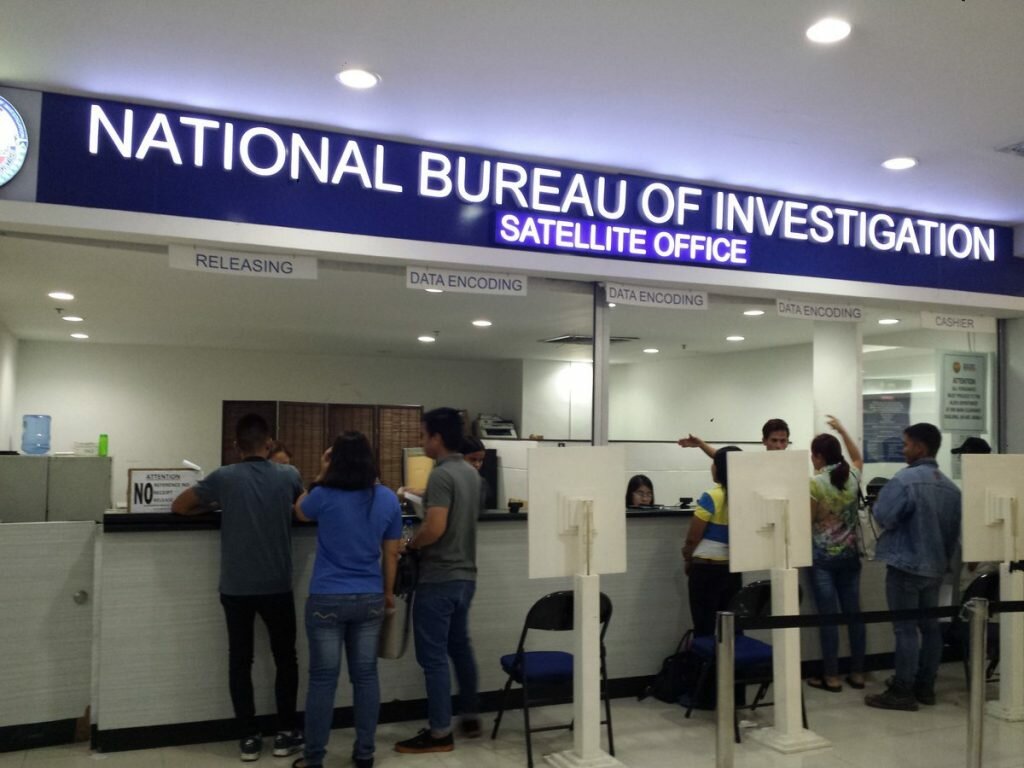
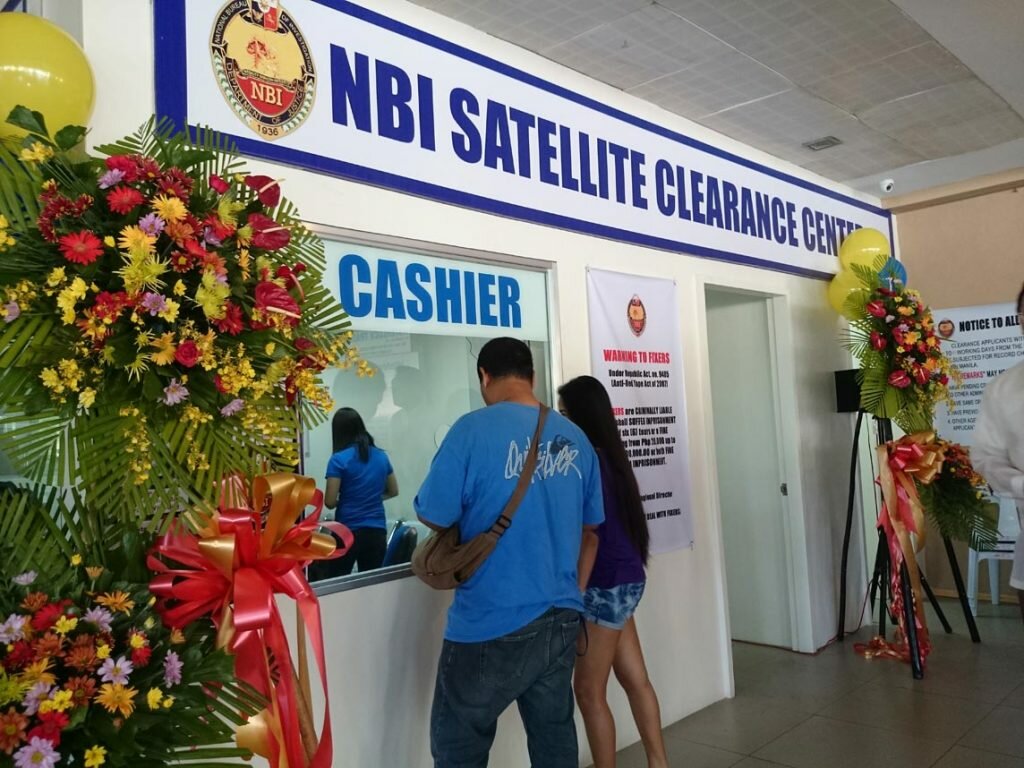
Remember when you used to wait in long lines and spent nearly an entire day just to submit your NBI clearance application. And it is even worse if you have to wait until the next and return to pick up your clearance. But fortunately, you won’t need to endure all these. The NBI has officially gone digital with the process of applying for NBI clearance being improved. All you need is a mobile device or a desktop with an internet connection. Continue reading to find out how to get NBI clearance online.
Requirements for NBI Clearance
In order to apply for an NBI clearance online, you only have to submit two government-issued IDs. Any of these valid IDs will work:
- PRC card
- Passport
- PSA-issued birth certificate
- UMID
- PhilHealth ID. You can check out our article on how to get PhilHealth ID online 2021.
- Voter’s ID
- Driver’s license
- TIN ID
- Postal ID
- NBI Clearance’s old copy
- School ID
- Senior Citizen ID
- Alien Certificate of Registration
- Police clearance

You need to make sure that your valid IDs should meet the following requirements:
- Only original copy is allowed.
- In good condition.
- Photo is clear.
- Not expired.
For NBI Clearance application, non-government-issued IDs like Barangay Clearance and company ID are not accepted.
How to get NBI Clearance online
This guide is only for first-time applicants as well as those who have their NBI Clearance issued before 2014. For those who have their NBI Clearance issued from 2014 to 2018 will need to renew it instead.

Step 1: Register for an NBI Clearance online account
1. Visit the website for NBI Clearance here.
2. On the Register box, next to “Do you have an old NBI clearance?” you will see a “No” box. Tick that.
3. Fill out a registration form for NBI Clearance Online Account.
4. Accept the terms of service by clicking the Agree button.
5. Click the button for Sign up. You will see an Important Reminder box popping up. Check the information before clicking the Yes button.
6. Enter your email and password to log in to your account after you see a successful registration confirmation.
7. Fill the form and click Save.
8. Review your information. Click Edit if you want to make changes and click save again once you are done.
9. Click the button for Apply for Clearance.
10. Enter you valid ID on the Confirmation box. Even though in this step, only one ID is asked, you will still need to present two valid IDs on your appointment.
11. Once done, click on the I Agree button.
Step 2: Book an appointment
When you are don’t with your NBI Clearance online registration, you will be taken to the Online Appointment page.
To set a schedule, you have to select an NBI branch from the drop-down menu. A calendar will show up with open slots in blue for you to choose. Dates in red mean the NBI branch is not open.
Choose the date and time that you would like to book by clicking on the button on the schedule.

>>> Toyota Rush Philippines price lastest update
Which NBI branch can you visit?
If you live in Metro Manila, there are several branches you can choose. But if you living outside of the city, you can choose provincial branches as well. That means, if you live in Cavite or Laguna, you won’t have to travel to Manila.
Step 3: Pay NBI Clearance fees
There are several methods with which you can pay for your NBI Clearance fees.
- Bank over the counter: You can pay at BPI, BDO, PNB, Metrobank, UnionBank, Security Bank, or any other partner banks.
- Bayad Center.
- Online Bank.
- ECPay.
- MultiPay.
- 7-Eleven.
Step 4: Process your NBI Clearance application
1. Visit the NBI clearance center with your two valid IDs.
2. Have your biometric taken and image captured. Present your reference number.
3. You info will be displayed on the screen. Review it thoroughly.
4. Go to the Printing area. Your NBI Clearance will be printed and given to you.

How much does an NBI Clearance cost?
The free for NBI Clearance is P130. Plus you will have to pay an e-payment service fee of P25.
How do you pay for your fee?
1. At the Appointment page, on the right side, you can choose your payment method.
2. You will see a reference number at the Payment box and the total amount of money you need to pay. Remember to note down the reference number before clicking the Accept button.
3. Visit the nearest branch offering the payment option that you selected.
4. Use your reference number to pay for the fee.
Once you have paid your fee, the status on your online account will show Paid.
That’s it. That’s all you need to know regarding how to get NBI clearance online. For more how-to articles, check out TechiestuffPH.com.
